
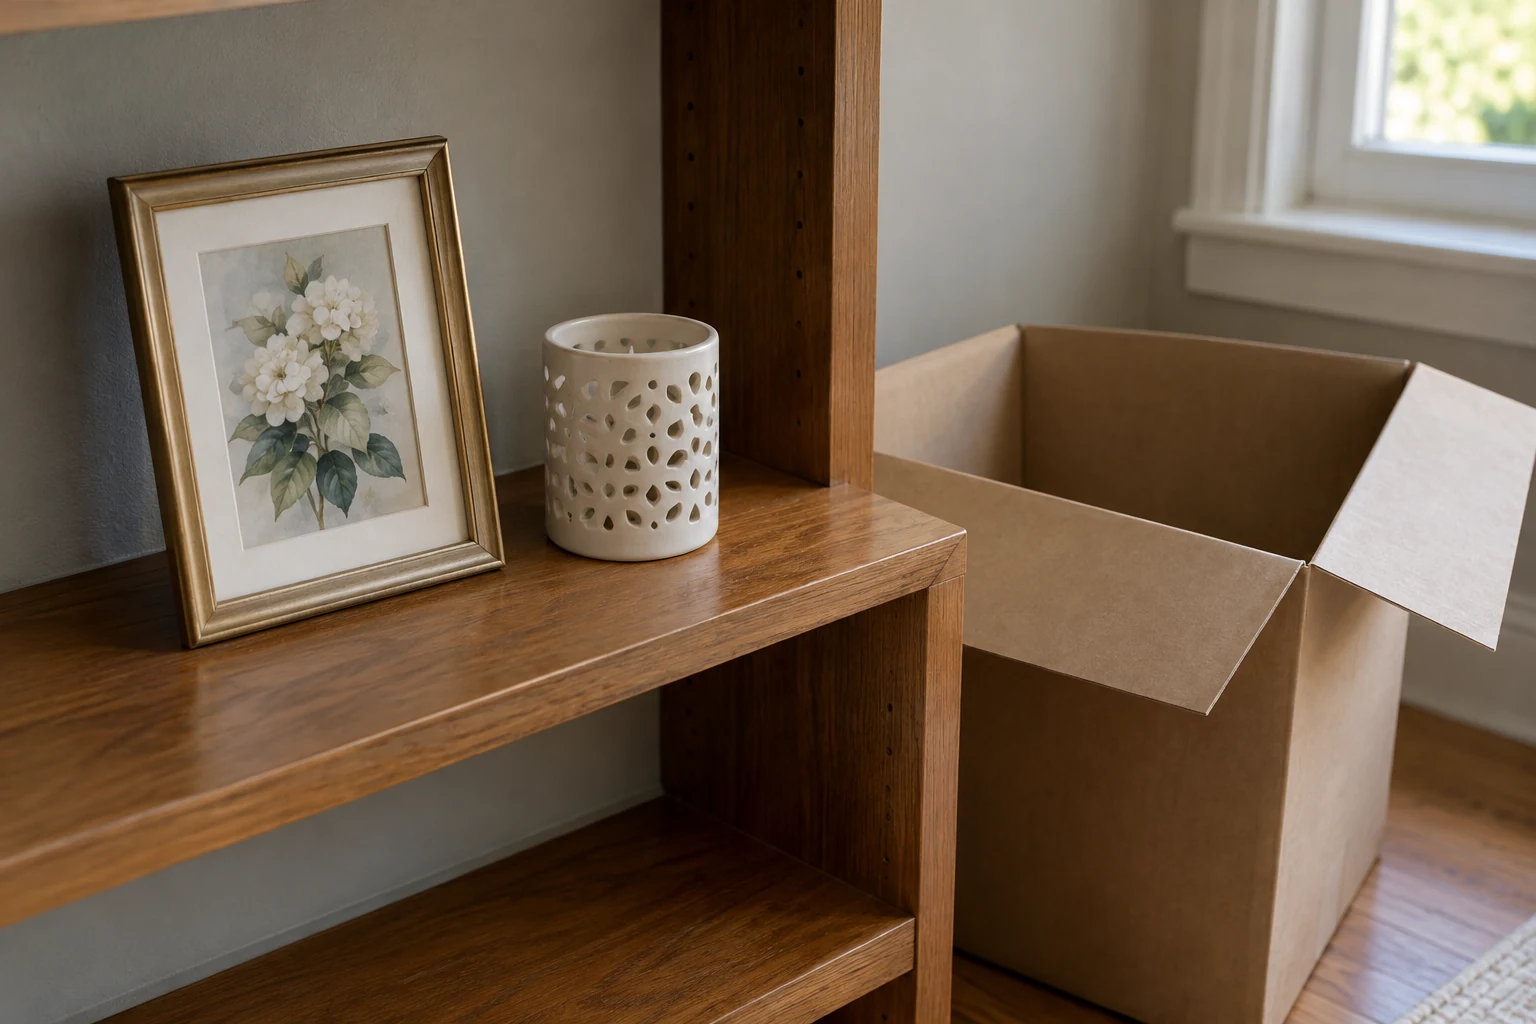
To pack a home altar for a move, document the arrangement and the meaning of its objects before taking it apart. Check who owns each item and who may handle it, then pack it according to its condition and material. Keep a record linking every item to its box so you can inspect and rebuild the display after arrival. This is a household packing plan, not a universal religious procedure: follow your family’s or tradition’s restrictions, and do not assume that a meaningful object is yours to move.
Decide What Can Move and Record What Matters
Start with photographs while the display is still intact. Take a clear view of the whole arrangement, then photograph each object individually, including any visible damage. If the position of an item matters, record that in words as well as in the overview image: “portrait stood behind the blue bowl” is easier to use later than a photo alone. The aim is to preserve choices you may want to make again, not to require an exact recreation.
Give each object a simple ID, such as A01, and make an inventory entry with its name or description, owner, story or placement significance, visible condition and intended destination. Include objects you intend to leave with someone else, so their absence from the moving boxes is accounted for. If a photograph and its frame will be packed separately, give them separate IDs and note their relationship.
An entry might read: “A07 — small ceramic dish; owned by Mara; usually placed beside her grandfather’s portrait because it was his; shallow crack across base; moving to Mara’s new home; pack separately with support under the base.” The family connection explains why the dish matters. The crack explains how it must be handled. Keeping both kinds of information prevents a careful packing job from losing the story, or a good story record from overlooking a physical risk.
Before dismantling anything, ask which objects are shared, borrowed or subject to family or tradition restrictions. Get the owner’s consent before packing an object that is not yours. If only a particular person may handle an item, agree with that person on who will move it and how its identity will be recorded. There is no need to turn the packing sequence into a rite that the household has not chosen.
Examine each object before lifting it. The Canadian Conservation Institute advises identifying its strong and weak areas before handling; it also advises knowing the path to the new location in advance and checking that path when necessary. In a household inventory, note loose attachments, old repairs, narrow projections, cracks and surfaces that seem unstable. A handle may be part of an object’s familiar appearance without being a sound lifting point. If you cannot identify a way to support an item confidently, set it aside for appropriate specialist advice rather than testing a wrap or a lift on the original.
Prepare the move before taking the first object off the display. Clear the route from the altar to the packing area, decide where packed items will wait, and have suitable containers and a clear receiving space ready. This reduces the temptation to carry a fragile object while searching for somewhere to put it. Give yourself room to set down one item safely before reaching for the next.
The photographs and condition notes will have a second use at the destination. They can help you tell whether a crack was already present, identify which side of an object faced outward, and reconnect a separated frame with its portrait. They do not settle whether the old arrangement will be safe or appropriate in the new space; that decision comes after you have inspected the objects and the place where they might stand.
Support Each Object and Isolate Spill Risks
Immediately before handling an item, check its weak areas again and choose a hold that supports sound parts from underneath. Do not lift it by a handle, loose attachment, fragile projection or old repair merely because that part is convenient to grasp. The Canadian Conservation Institute warns that lifting an object without adequate support can cause damage. If you cannot provide that support, pause the move of that item until you have a safer plan.
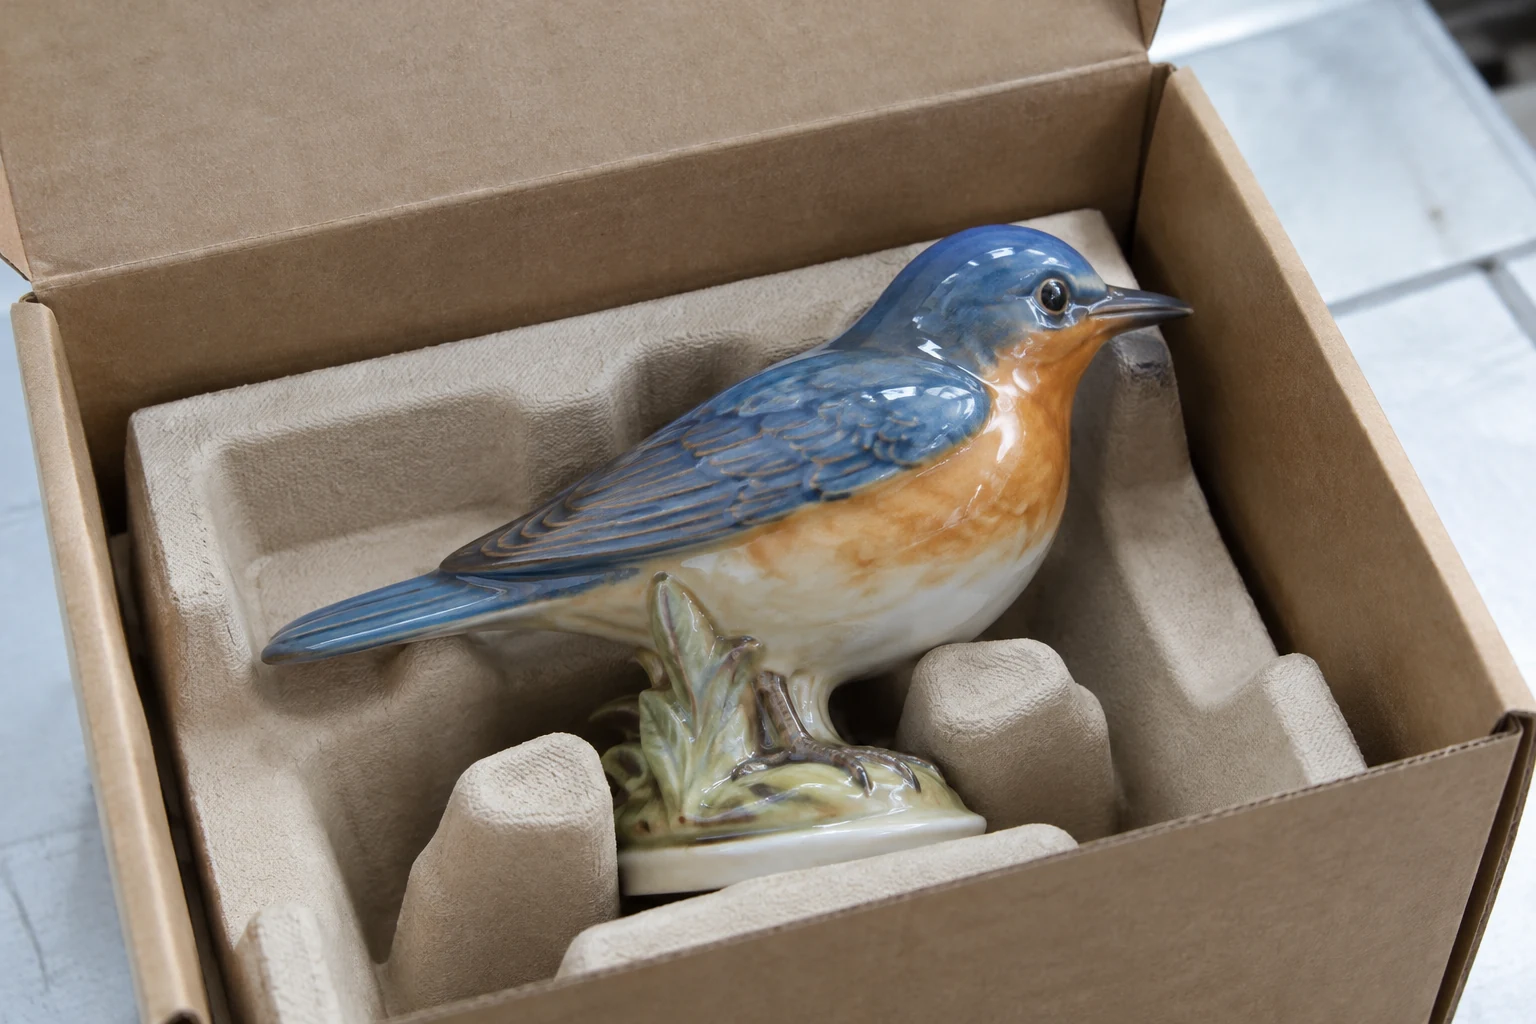
Consider a figurine with a sturdy base and a delicate raised arm. Support the base when lifting it; do not let the arm carry weight or press against the side of a container. In the box, the goal is to support the sound parts so the figurine cannot shift, tip into another item or have its arm pressed by packing material. A box that closes is not necessarily a box in which the object is supported.
Pack distinct objects individually rather than allowing them to rest against one another. A hard edge can rub a painted surface, and even objects that seem secure at rest can move when a box is carried or set down. Choose supports and enclosures for the actual surface and condition of each item. A sound, smooth object and one with a powdery or flaking finish do not present the same packing problem. Do not press tissue against a delicate area or apply generic adhesive plastic to an unstable surface. If contact itself may remove material, stop and seek material-specific guidance rather than treating one kind of wrap as safe for everything.
Keep the inventory nearby as you work. If an item has a removable part, record whether that part is detached for packing and give it an ID or a clearly linked sub-entry. Do not assume that a loose piece should be fastened back on for the journey. The record should make it possible to find both pieces later without placing pressure on either one now. Where an object must remain upright or needs a particular side supported, note that handling need for the box record.
Remove spill and heat risks before packing nearby originals. Extinguish and remove any flame, and allow a hot device to cool before handling it. Keep liquids apart from photographs, papers and other vulnerable objects; do not pack a leaking container. Check the actual transport instructions for a lamp or battery-powered item rather than assuming its usual place on the altar makes it ready for travel.
These are household decisions, not a substitute for airline or hazardous-goods rules or professional art-shipping requirements. If your route or an object calls for those requirements, resolve them before placing it in a moving box. An item can remain identified in the inventory even when it cannot travel with the rest of the display on the same day.
Enclose Photographs and Papers Separately
Give original photographs and documents a route that does not put them against frames, figurines or other hard altar objects. They should not be bent to fit a container, crushed beneath heavier contents or allowed to rub against one another in transit. Keep them separate from liquids, including containers that appear closed. If a frame and its image can be separated safely, record the connection and pack according to the needs of each; if separating them would risk damage, do not force the job simply to follow a preferred packing arrangement.
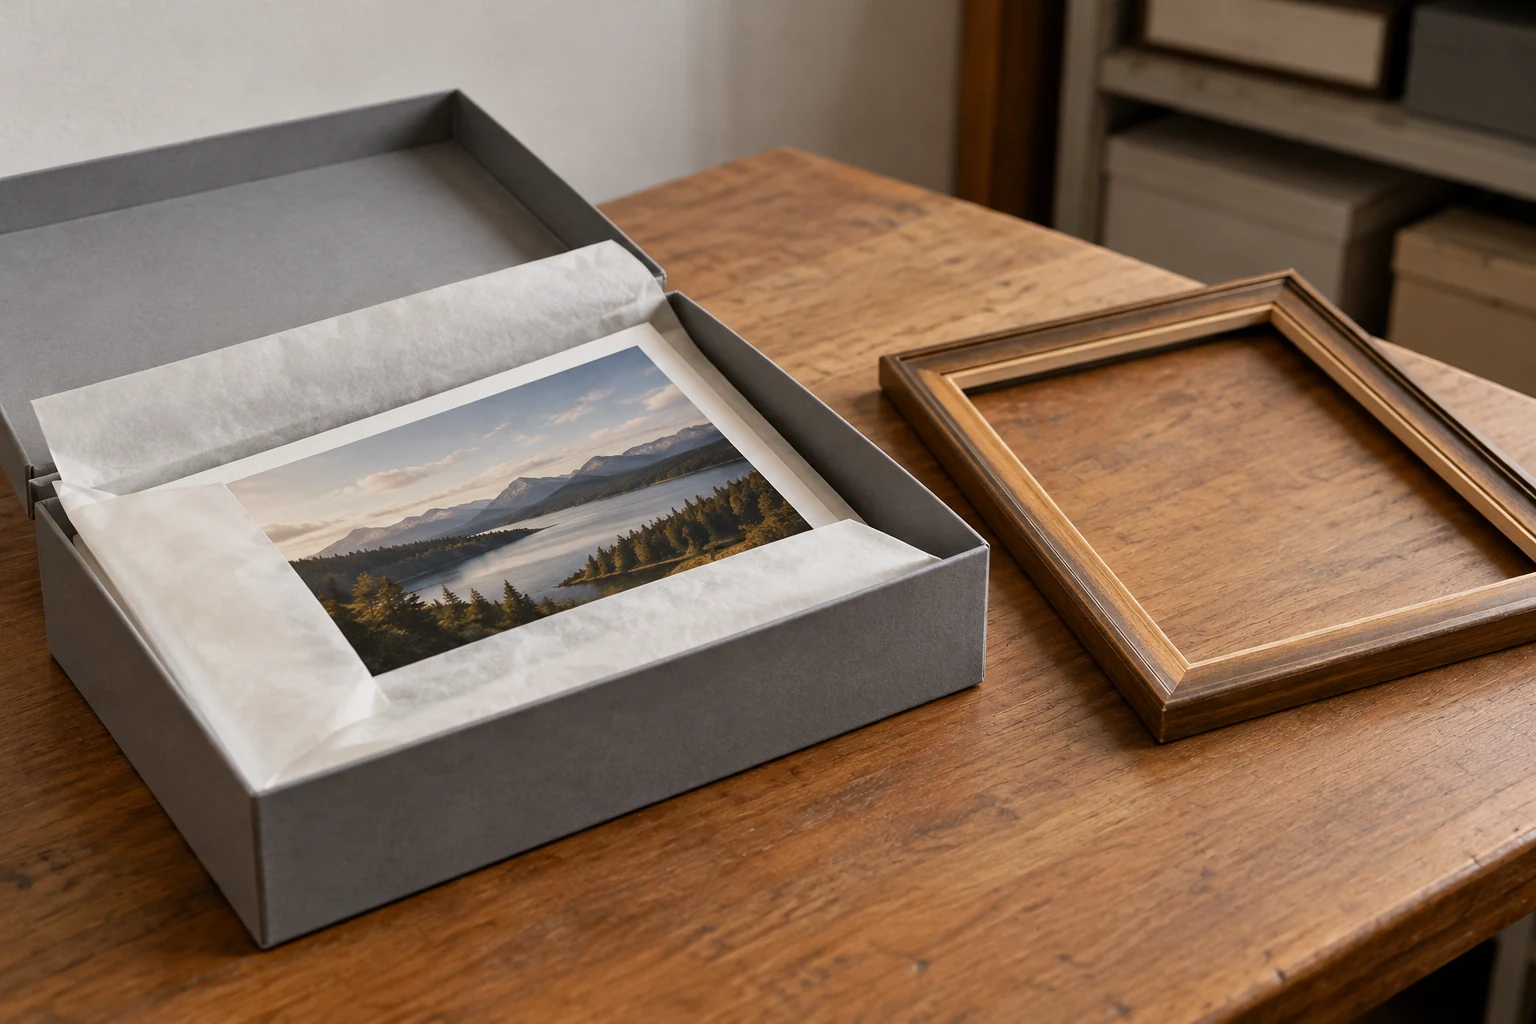
The Library of Congress recommends photo-safe boxes for photographs, whether the photographs are matted or enclosed in paper or plastic. That does not mean every photograph needs the same plastic sleeve. Choose a primary enclosure appropriate to the particular original and its condition, then place it in a photo-safe box. If the surface is unstable or you are uncertain whether an enclosure can touch it safely, seek specific advice instead of sliding it into a generic sleeve.
Keep identification off the original image. The Library of Congress says not to put self-adhesive tape, sticky notes, glue or other adhesives on photographs. Put the item ID on its enclosure or an accompanying record instead, and link that ID to the inventory and box. Apply the same cautious approach to original papers: record what they are without using the document itself as a label. During transport, keep originals away from extreme heat and moisture rather than leaving their box in an exposed or damp place.
For example, an original portrait might be P03, while its frame is F03. Record “P03 belongs with F03,” enclose the portrait without adhesive on the image, and pack the frame separately so its hard edges cannot press on the photograph. Both entries can still point to the same intended place in the new display.
Match Every Box to the Record, Then Unpack Deliberately
As each item goes into a box, add the actual box ID to its inventory entry. Do not rely on a planned box list made before packing: a change of container or a last-minute decision to separate two items can make that list wrong. A useful line might read, “A07 — box B04 — support base; keep separate from A08.” Record orientation or handling needs when they will matter to the person carrying or opening the box.
Label boxes on the outside, without attaching labels or tape to originals. Keep the inventory and arrangement photographs accessible during the move, and retain a separate copy of the inventory away from the boxes. If one box goes missing, the only record of its contents should not be inside it. If someone else will carry the boxes, make sure the box IDs on the containers match those in the version of the record they will use.
Make a short first-open list for what you need to inspect the contents and prepare a receiving space. That may include the inventory, arrangement images and whatever lets you set down and examine an object without immediately displaying it. “First-open” means accessible first, not “put everything on the altar first.” An unstable object may need to remain supported in its container, and a restricted object may need to wait for the person authorized to handle it.
Transport boxes according to their contents, maintaining the separation between fragile originals, hard objects and anything spill-prone. At the destination, clear the receiving space before opening containers. Reconcile the box IDs against the inventory, then inspect items as you unpack them. Compare their condition with the pre-move photographs rather than relying on memory. If a box is damaged or an item appears changed, stop before rebuilding that part of the display. Keep the object supported and seek appropriate help if you cannot handle or assess it safely.
Finally, use the overview photograph and story notes to decide what belongs in the new display, where it can stand securely and who should take part in placing it. Check ownership and handling agreements again if plans have changed during the move. A former position may have been meaningful without being suitable for a narrower shelf, a warmer spot or a surface where an object could be knocked over. The photograph is an aid to reconstruction, not an instruction to reproduce an unsafe layout—and this packing plan does not prescribe ritual disposal or replacement for anything that cannot be displayed immediately.