
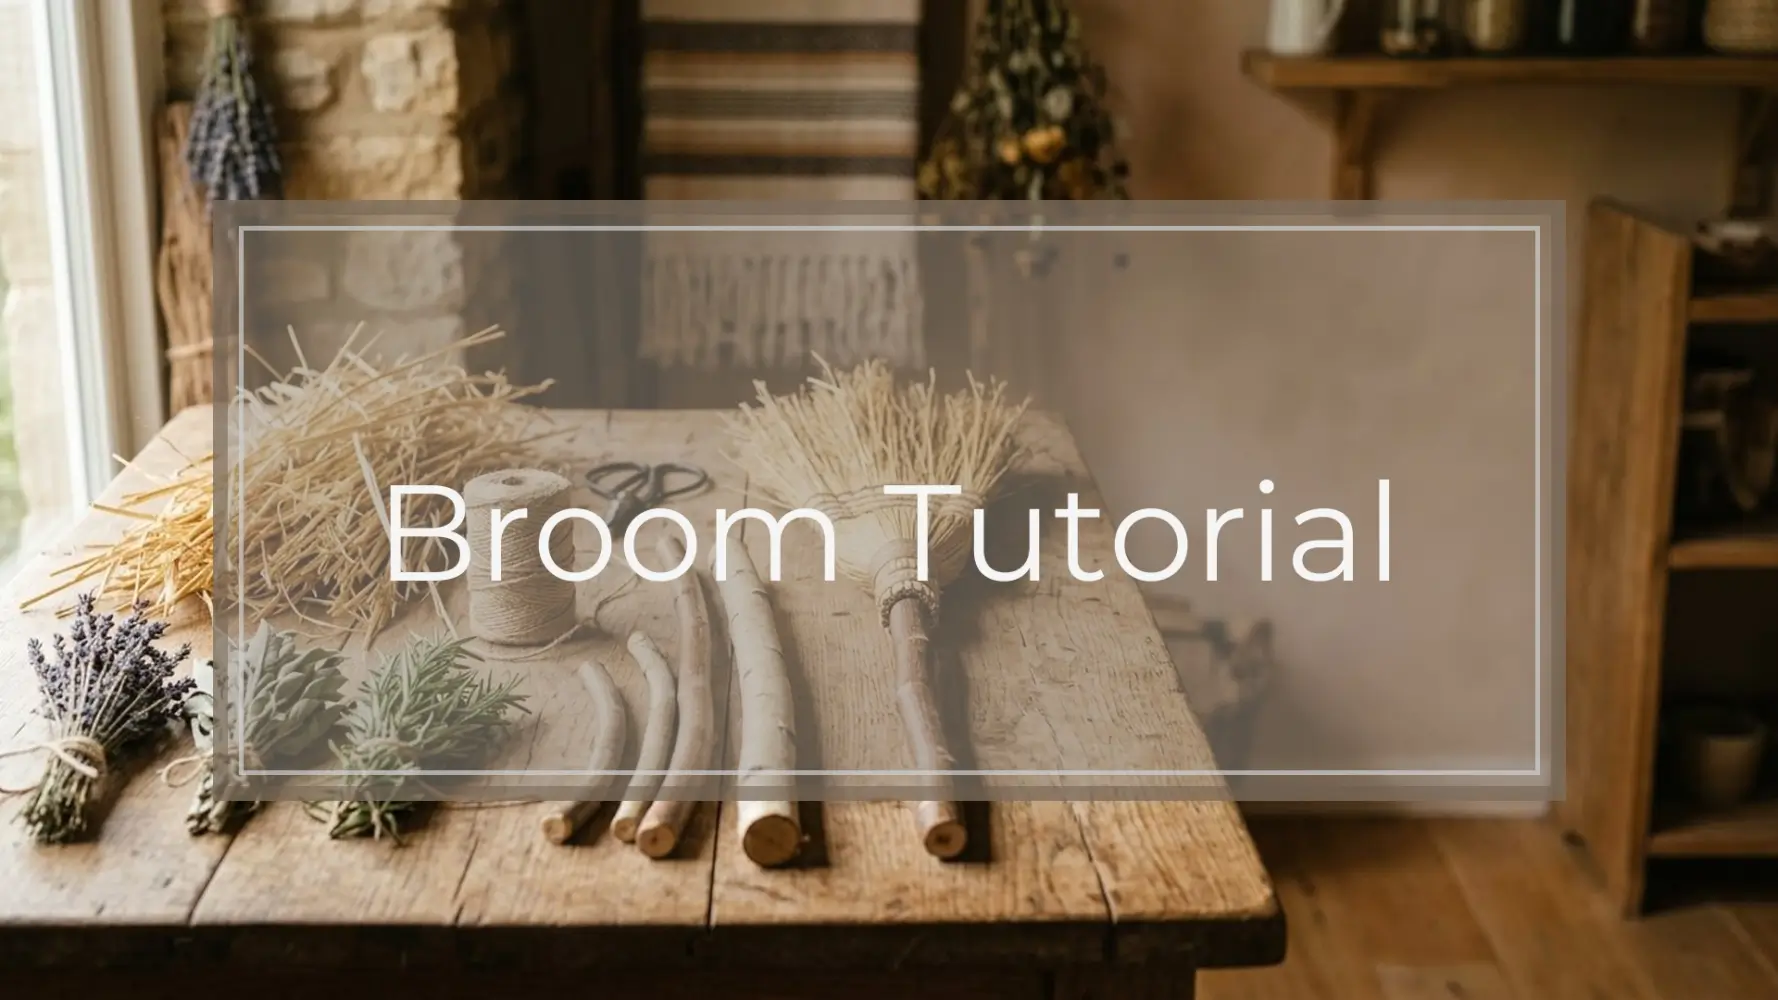
This broom tutorial shows you how to make a small handmade ritual broom for altar work, doorway cleansing, seasonal practice, or symbolic sweeping around the home. You can use the same method for a full-size broom or a compact altar broom, depending on the handle and bristle materials you choose.
Quick answer: A ritual broom is made by choosing a handle and bristles, binding them securely, trimming the shape, and dedicating the finished tool for symbolic sweeping. It does not need to touch the floor during ritual use; intention, direction, and respectful handling matter most.
The goal is not to create a perfect object. It is to make a sturdy, meaningful tool that feels good in your hands and fits your practice.
A Simple Broom Tutorial: What You’ll Make and How It Works
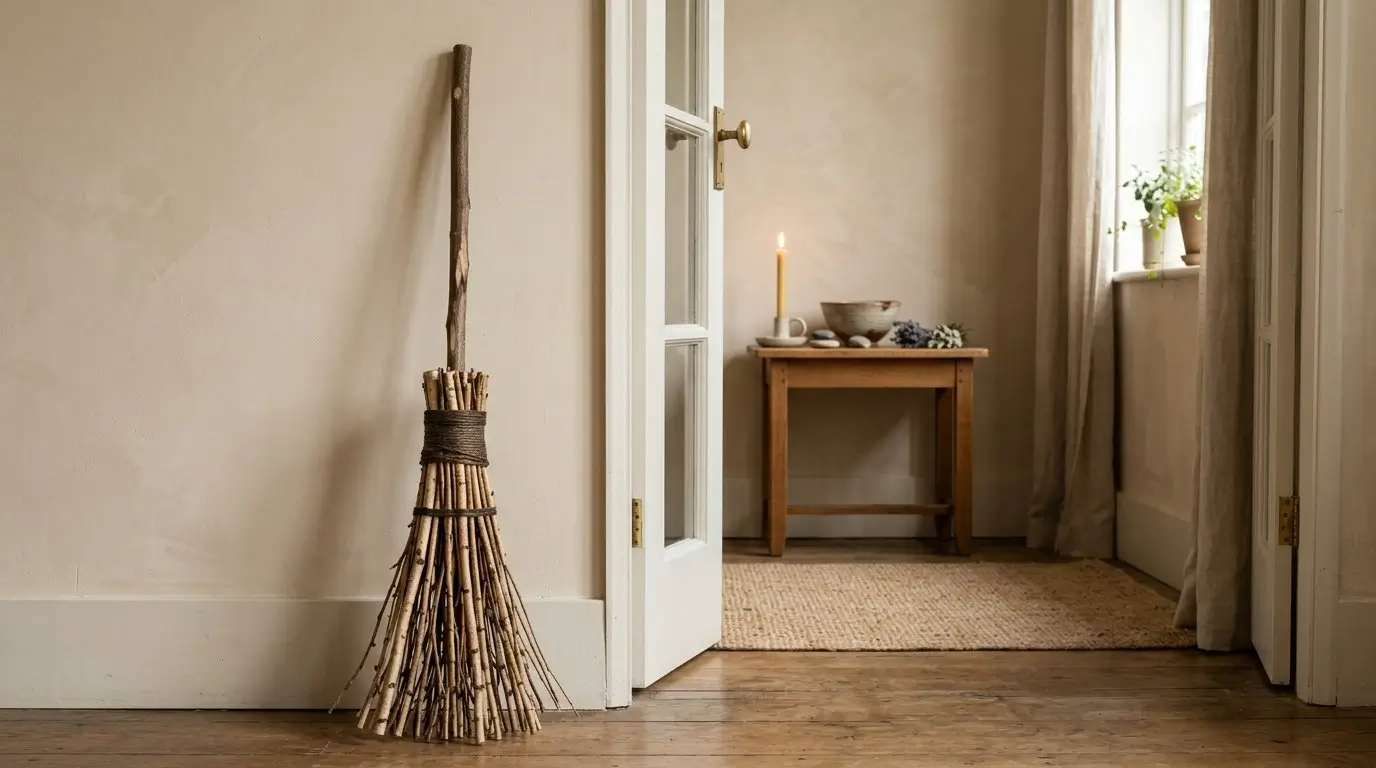
In this guide, you’ll make a simple ritual broom, often called a besom in some modern pagan and witchcraft contexts. It can be used near an ancestor altar, by a doorway, before prayer or candle work, or as part of a seasonal home-clearing ritual.
The basic process is straightforward:
- Choose a handle.
- Gather bristle material.
- Sort and arrange the bristles.
- Bind everything tightly.
- Trim the broom into shape.
- Cleanse, dedicate, and store it respectfully.
Your broom can be decorative, ritual-only, or lightly practical. A broom made with broomcorn or sturdy straw may handle gentle sweeping. A broom made with dried herbs, raffia, or delicate twigs is better treated as symbolic and should not be used for heavy cleaning.
For altar work, many people prefer a small broom kept beside candles, offering bowls, prayer beads, photos, or devotional objects. For doorway work, a medium broom can be hung near the entrance or stored bristles-up as a reminder of boundaries, welcome, and mindful transition.
This tutorial frames the broom as an intention-based ritual object. It does not guarantee protection, luck, healing, or spiritual results. Its value comes from the care you put into making it, the meaning you assign to it, and the consistency of your practice.
Materials and Tools You’ll Need
Before you begin, gather your supplies and prepare a clean work surface. A kitchen table, craft mat, outdoor bench, or towel-covered floor can all work.
Core materials
You will need:
- A handle: a sturdy stick, branch, dowel, wooden spoon handle, or trimmed garden stake
- Bristles: broomcorn, dried grasses, straw, raffia, birch twigs, or herb bundles
- Binding material: strong twine, cotton cord, hemp cord, waxed thread, floral wire, or thin craft wire
- Optional finishing wrap: ribbon, leather cord, colored thread, or decorative twine
Choose a handle that feels comfortable and balanced. For a small altar broom, a handle between 8 and 16 inches is usually enough. For a larger ritual broom, use a longer stick or dowel.
Optional decorations
You can personalize the broom with:
- Small beads
- Charms
- Ribbon
- Dried rosemary, lavender, cedar, bay, or other safe botanicals
- Ancestral colors or household colors that are meaningful to you
Keep decoration simple at first. The broom should be structurally sound before you add anything symbolic.
Tools
Helpful tools include:
- Scissors or garden snips
- Gloves for rough stems or twigs
- A bowl of water for briefly soaking stiff natural fibers
- A towel for drying dampened materials
- A flat work surface
- Optional pliers if using wire
Choosing bristle materials
| Bristle material | Best for | Symbolic feel | Durability | Notes |
|---|---|---|---|---|
| Broomcorn | Practical or ritual brooms | Traditional, sturdy | High | Excellent if available; binds well and trims cleanly. |
| Birch twigs | Rustic ritual brooms | Boundary, renewal | Medium | Beautiful texture, but can be scratchy and uneven. |
| Straw | Beginner projects | Simple, home-focused | Medium | Affordable and easy to find; may shed if brittle. |
| Raffia | Decorative altar brooms | Light, craft-friendly | Low to medium | Easy to bind, but not ideal for real sweeping. |
| Dried herbs | Symbolic altar use | Devotional, aromatic | Low | Use sparingly; herbs can crumble over time. |
| Synthetic craft fibers | Decorative projects | Colorful, customizable | Medium | Useful if allergies are a concern; avoid heat and flame. |
Safety cautions
Avoid toxic plants, moldy dried herbs, and anything that causes allergic reactions. If you live with pets, check whether your chosen botanicals are safe to keep in the home. Keep loose ribbons, raffia, and dried herbs away from candles, incense, and open flame.
If using wire, tuck sharp ends inward or cover them with cord. A ritual tool should feel safe and comfortable to handle.
Step-by-Step: How to Make the Broom
The following steps work for both a small altar broom and a larger ritual broom. Adjust the scale, but keep the structure the same.
1. Choose and prepare the handle
Select a handle that is dry, sturdy, and comfortable to hold. If you are using a branch, remove loose bark, dirt, or insects. Check for splinters and rough edges. Sand the handle lightly if needed, or wrap the grip area with cord later.
Wipe the handle with a dry or slightly damp cloth, then let it dry fully. Decide which end will hold the bristles. For a natural branch, the thicker end often works well because it gives the broom more visual weight and stability.
2. Sort the bristles
Lay out your broomcorn, straw, twigs, raffia, or herbs. Remove pieces that are moldy, damp, weak, or overly brittle. If the bristles break into dust when you bend them gently, they are too dry for a lasting broom.
Sort the remaining pieces by length. Put the longest pieces in the center and shorter pieces around the edges if you want a rounded or fan-shaped broom. For a rustic look, leave the lengths uneven and trim only lightly at the end.
3. Arrange the first layer
Place the handle on your work surface. Arrange the first layer of bristles around the chosen end.
For a beginner-friendly method, let the thicker cut ends of the bristles sit against the handle and point the sweeping ends downward. Hold the bundle tightly in one hand while you adjust the shape with the other. The bristles should surround the handle evenly rather than sitting only on one side.
If you are making a very small altar broom, you may only need one layer. If you want a fuller broom, make the first layer neat but not too bulky.
4. Bind the bristles tightly
Cut a long piece of twine, cord, or waxed thread. Begin wrapping near the top of the bristle bundle, close to where the bristles meet the handle.
Wrap several times with firm tension. Each wrap should sit snugly against the last. Pull tight, but not so hard that you snap delicate stems. After several wraps, tie a secure knot. A square knot works well for many cords.
Check the tension by gently tugging the bristles. If they slide out easily, the binding is too loose. Add more wraps or retie the bundle before moving on.
For extra strength, add a second binding point about half an inch below the first one. This is especially helpful for larger brooms.
5. Add a second layer if desired
If your broom looks thin, add a second layer of bristles around the first. Hold the new layer in place and wrap again with cord or twine.
This second layer can hide the first binding and make the broom look fuller. It also gives you a chance to even out the shape. Place longer pieces where the broom looks sparse and shorter pieces where it already looks full.
Bind this layer tightly. The broom should feel like one solid object rather than a loose bundle tied to a stick.
6. Trim the broom end
Once the bristles are secure, trim the sweeping end. You can shape it into:
- An even flat edge
- A rounded end
- A fan shape
- A rustic natural shape with minimal trimming
Use sharp scissors or garden snips. Cut slowly and check the shape from both sides. It is better to trim in small amounts than to cut too much at once.
7. Add decoration after the structure is secure
Now you can add ribbon, beads, charms, colored thread, or a small dried herb bundle. Keep decorations above the bristle area or near the handle so they do not interfere with sweeping.
Tie everything firmly. If the broom will be used near an altar with candles or incense, avoid dangling ribbons and loose dried plants. A simple cord wrap is often safer and more durable than heavy decoration.
Final structure check
Gently shake the broom. It should feel firm. A few loose fibers are normal, but it should not shed heavily. The handle should not slip, the binding should not unravel, and the bristles should stay in place when lifted.
Cleansing, Dedicating, and Personalizing Your Broom
Once the broom is built, you may want to cleanse or dedicate it before using it in ritual practice. Choose a method that fits your beliefs, household safety, and cultural background.
You might:
- Wipe the broom with a clean dry cloth
- Place it in gentle sunlight for a short time
- Pass it near incense smoke if safe and well ventilated
- Ring a bell or chime beside it
- Set it on your altar overnight
- Hold it quietly and name its purpose
A short dedication can be enough:
“I dedicate this broom for clear space, respectful boundaries, and mindful care of this home and altar.”
If your practice centers on ancestors, you might say:
“May this broom serve my altar with respect, clarity, and remembrance.”
Personalization can reflect your intention. White ribbon may suggest clarity, black cord may suggest boundaries, and green may suggest household harmony. You can also use colors connected to your family, lineage, or seasonal observance.
Be respectful with cultural symbols and practices. Not every cleansing method, prayer form, or ritual style belongs to everyone. If a practice comes from a closed or initiatory tradition, do not copy it casually. Your broom can be meaningful without borrowing what is not yours to use.
Above all, make sure personalization does not make the broom unsafe. Avoid loose flammable elements, sharp charms, or decorations that make the handle uncomfortable.
How to Use a Ritual Broom in Your Home or Altar Practice
A ritual broom is often used for symbolic sweeping. It does not have to touch the floor. Many people hold it slightly above the surface and move slowly with intention.
For a room-clearing practice, begin at the back of the room and sweep toward the door. This motion can represent moving stagnant energy out of the space. Another option is to begin in the center of the room and sweep outward, which may feel better when preparing a space for gathering, prayer, or seasonal work.
For altar use, keep a small broom near the altar area. Before offerings, candle lighting, prayer, or ancestor remembrance, gently sweep around the surface or the space nearby. If the altar has delicate items, sweep around them rather than over them.
For doorway use, store the broom near the entrance as a reminder of transition. It can symbolize what you welcome in, what you leave outside, and how you care for the threshold of your home.
A simple ritual sequence might look like this:
- Pause and take a steady breath.
- Name your intention in plain words.
- Sweep slowly from back to front, center to edge, or altar outward.
- If there is physical dust, clean it separately with a household broom or cloth.
- Return the ritual broom to its place.
It is often best to keep a ritual broom separate from a cleaning broom, especially if it contains delicate herbs, charms, or decorations. A practical cleaning broom can handle dust. A ritual broom can hold symbolic meaning.
Mistakes, Troubleshooting, and How to Know It’s Finished
Even a simple broom can go wrong if the materials are weak or the binding is loose. Most problems are easy to fix.
Mistake: binding too loosely
Loose binding is the most common issue. If the bristles slide when you tug them, add another tight wrap above the first binding. If the whole bundle moves, untie it and start again with stronger tension.
Waxed thread, hemp cord, or strong cotton twine often grips better than slippery ribbon. Save ribbon for decoration after the broom is secure.
Mistake: using damp or brittle plant material
Damp material can mold, especially if it is bound tightly before drying. Brittle stems shed quickly and may snap during use. Choose dry but flexible plant fibers whenever possible.
If stiff bristles need softening, soak them briefly, towel them off, and allow them to dry before final storage. Do not put a damp broom in a closet or altar drawer.
Mistake: decorating too early
Decorating before the structure is stable can hide weak spots. Build the broom first. Shake it gently. Test the binding. Only then add charms, ribbons, or herbs.
Troubleshooting quick fixes
- Heavy shedding: remove brittle pieces and rebind with fresher material.
- Crooked bristles: loosen the outer layer, rearrange, and wrap again.
- Slipping handle: add a tighter binding closer to the handle end.
- Sharp wire: bend ends inward and cover with cord or cloth.
- Uncomfortable grip: wrap the handle with soft cord, fabric, or leather.
Result check
Your broom is finished when:
- The handle feels secure.
- The bristles do not slide off.
- The broom can be lifted and lightly shaken.
- The end is trimmed to the shape you want.
- Decorations are firmly attached.
- Nothing sharp, moldy, or unsafe remains.
Store the broom in a dry area. You can hang it, place it bristles-up, or lay it flat in an altar drawer or basket. Inspect it occasionally for dust, pests, loose binding, or mold, especially if you used natural herbs.
Recommended Reading Path
If you are building a ritual tool practice step by step, start with one simple broom and use it consistently before making several versions. After that, you might explore altar setup, offering bowls, candle safety, devotional cloths, or seasonal home-clearing routines. Keeping the path simple helps each tool develop a clear role instead of becoming decoration without purpose.
FAQ
Can I use a regular household broom for ritual sweeping?
Yes. A regular broom can be used symbolically if that feels right to you. Many people prefer a separate ritual broom, though, especially for altar work, because it keeps spiritual use distinct from everyday cleaning.
What is the best material for a beginner broom tutorial?
Broomcorn, straw, or raffia are good beginner choices. Broomcorn is sturdier, straw is easy to find, and raffia is simple for small decorative altar brooms. Avoid damp, moldy, or overly brittle materials.
Should a ritual broom touch the floor?
It does not have to. In symbolic sweeping, the broom can hover slightly above the floor. If your broom is delicate or decorated with herbs, keeping it off the floor will help it last longer.
How do I cleanse a handmade broom before using it?
Wipe it clean, place it briefly in sunlight, ring a bell near it, pass it near incense smoke if safe, or set it on your altar. Then state its purpose in clear, respectful words.